


Friday, August 31, 2012
A non-crafty kind of post
Thursday, August 30, 2012
Children's Initial Art

Step 1.) I cut their initials in vinyl and stuck it on the thick cardstock.

Step #2 They painted.
He took the whole hand approach...

...while she took the finger tip approach. Each artist has their own technique :)

Step No.3) After they dried I removed the vinyl and framed.
I bought cheap dollar store frames and hung them on their bedroom doors. You could paint the frames if you wanted, but I preferred the raw wood look.


Tuesday, August 28, 2012
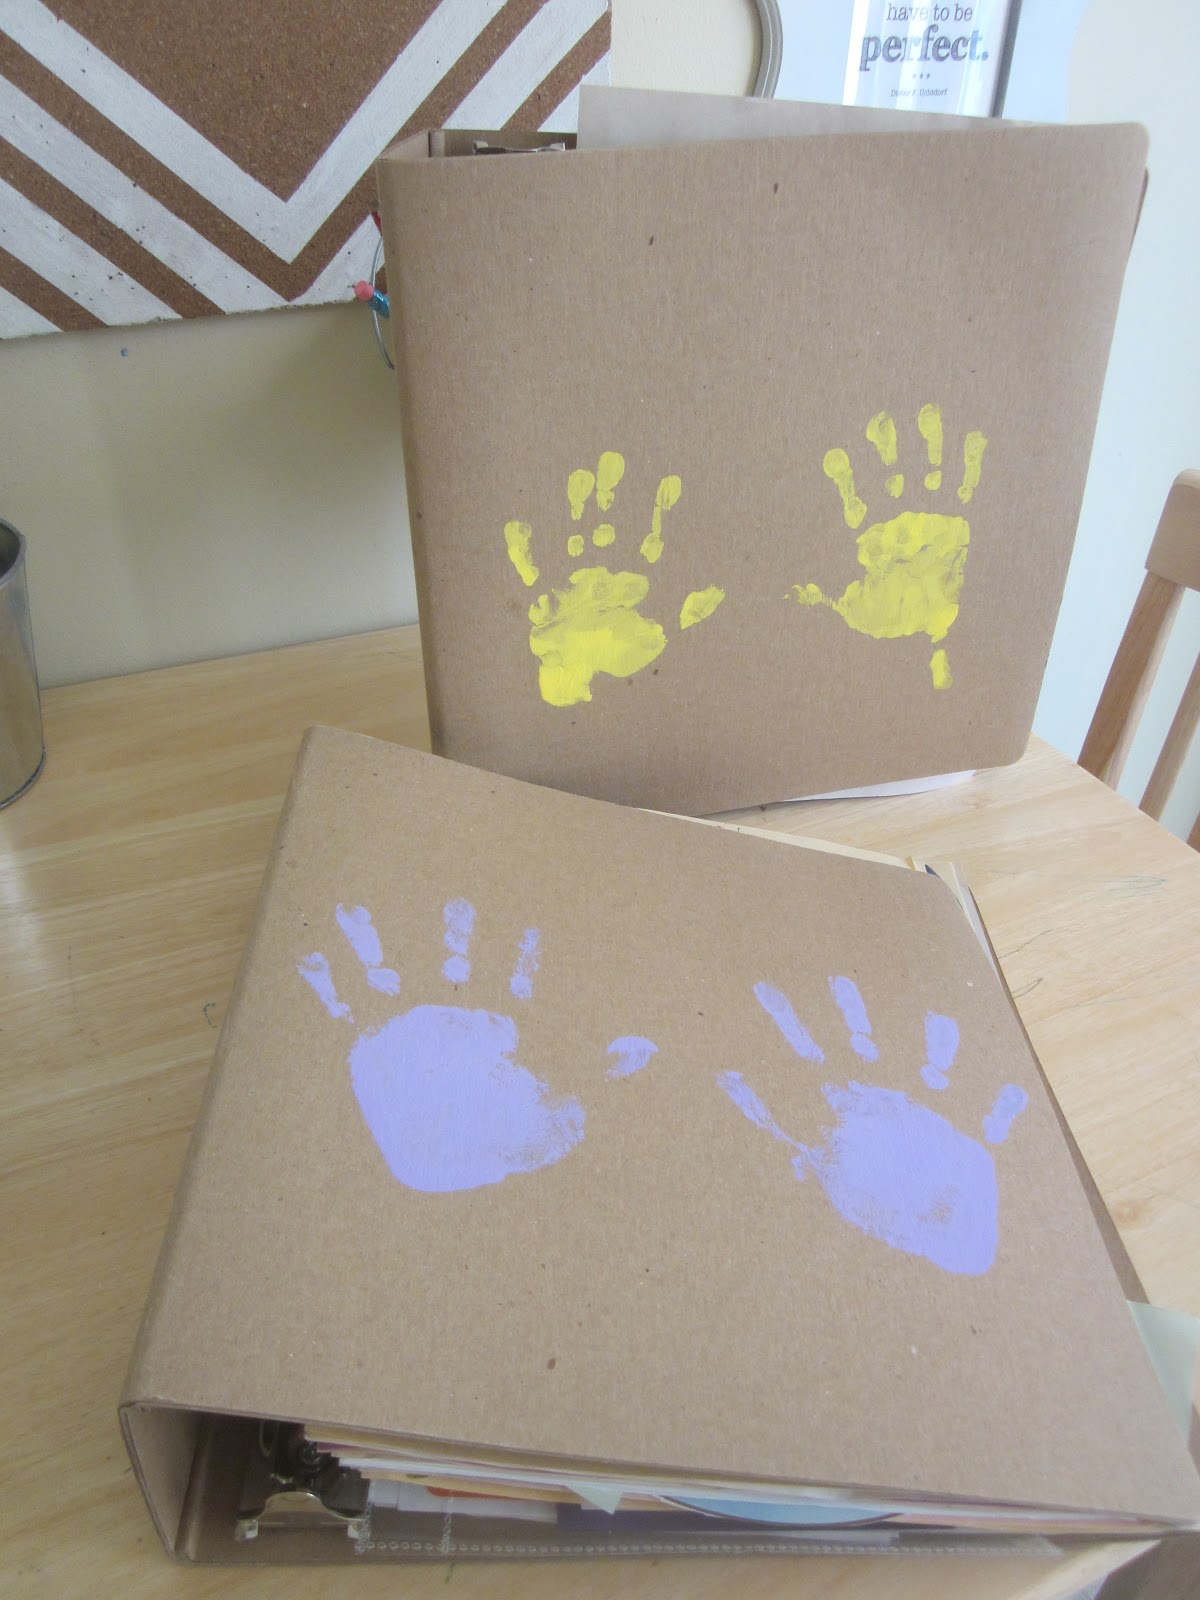
Children's Memory Binders and Memory Keeping
After accumulating piles of drawing, certificates, and cards, I was feeling overwhelmed with stacks of paper. I didn't want to just toss them in a box on a shelf, so I got a couple of these chipboard binders. I liked them because we could paint or draw directly on them.

They put their handprints on their binder, in their favorite color, of course.
Inside I put anything paper of theirs that we want to save...

artwork...

Sunday School papers...

ticket stubs...

cards(some in sheet protectors)...

certificates(did you know Home Depot offers FREE kid workshops on the first Saturday of each month? Pretty awesome!)...

cards(some punched directly and put in the rings).
I love it. They can pull them off the bookshelf, look through them and be reminded of things they've done or accomplished. When it's full we begin a new binder with updated handprints.
I don't put any pictures in these because I use them in our project life binder. Do you do project life? I admittedly am behind...always. I get caught up, and then get behind again. At least it always get completed by the end of the year.

Since I inevitably get behind, I use a date book to record things I do not want to forget. Later when I'm working on Project life I pull out the datebook and remember to document in detail with the pictures. It works for me. I record a lot of the sweet things the kids say or the places we go and things we do together.

This time while they are young is precious. It goes fast and little things can easily be forgotten. Keeping memory books and project life helps me to hang on to the little moments forever.
Link up with me at these parties
Debbie Does Creations, Ginger Snap Crafts, Sew Much Ado, Someday Crafts, Lil' Luna , Trendy Treehouse, Free Pretty Things for You,
The Shabby Creek Cottage, Beyond the Picket Fence, Yesterday on Tuesday, Katie's Nesting Spot, House of Hepworths, At the picket Fence,

Monday, August 27, 2012
Have you tried this spread? I'm addicted {Nut free muddy buddies}
We have been searching for a delicious peanut butter substitute for years. Finding a completely nut-free spread that's also delicious is not an easy feat!

How we have not found this one sooner, I do not know!
Biscoff Spread...have you had this? I'm addicted.
When the hubs brought it home I was skeptical. We have tried every other nut free spread we could find and they were all disappointments. After all, peanut butter is a lot to live up to. When he brought this home, I did the toast test. You'll know it's a suitable substitute if it's delicious on toast (in my opinion :). And it was heavenly. There are 3 jars of these babies stocked in our pantry. It kind of has a graham cracker taste. Delicious.

Since it passed the test I gave it a try as a peanut butter substitute in muddy buddies. Again, delicious! I used the Betty Crocker recipe, and just replaced the peanut butter with the Biscoff spread.

I can't wait to try this spread in other holiday recipes that call for peanut butter. I have a feeling it will be just as tasty!
Saturday, August 25, 2012
Is it fall yet?
I am so excited that fall is right around the corner.
 |
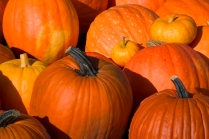
| source |
I LOVE all things fall. The colors, the pumpkins, the smells, the foods, the cozy clothes...it's all good in my book.
 |
| source |
The fun of dressing up and trick-or-treating is right around the corner, then falling leaves and Thanksgiving yummies, and then Christmas! I'm getting way ahead here, because today it's 90 degrees and August. You get the idea though...I big, fat puffy heart love fall.
If you are craving some fall inspiration check out these last projects:
This weekend I'm working on a couple things that I hope to share next week. We will see how far I get considering we all have colds, and right now I'm looking like this in front of the computer:
 |
| source |
Have a wonderful weekend full of crafty inspiration.
Wednesday, August 22, 2012
Rainbow Cupcakes
A couple weeks ago we celebrated the little lady's birthday with a rainbow themed party. I've seen loads of inspiring ideas for rainbow cupcakes and figured I'd give it a try.

I didn't think the rainbow strips of candy were going to stand up well, but surprisingly they did. I cut the Xtreme Belts very small and it worked out fine.

But for me the most exciting part was having a proper place to store the cupcakes! Who knew they even made a cupcake carrier/storage thingy?! Well, I didn't until a few months ago! When I saw them, I snagged one up right away.

In the past I have resorted to using some interesting things to transport cupcakes.
See my pumpkin cupcakes for proof :)
Tuesday, August 21, 2012
Tooth Fairy Passport
Yesterday I wrote about a visit from the tooth fairy and what a big deal she is around here. For that reason, we needed a fun way to document this exciting time. Why not a tooth fairy passport? :)

Using card stock, washi tape, baker's twine, and a tooth fairy stamp set, we put together this passport holder.

Now we needed to complete the inside.
Shaped by Grace via Homemaker in Heels kindly offers some free printables for just such a thing.

Tucked in one side pocket is the Tooth Travels punch card.


In the other pocket is Tooth Journal cards for documenting how each tooth was lost. It will be nice to look back at their handwriting, too. On the back side the tooth fairy can even leave a little note.

This passport will become a perfect keepsake!
Do you have any tooth fairy traditions?
Monday, August 20, 2012
Tooth Fairy Visit
Last month she finally lost her first tooth! This was HUGE for her. She has watched friends and classmates lose teeth over the last year. This has been a long...long...long wait. When a tooth finally came out, grandparents were called...of course. Until bedtime the tooth was safely placed on mama's dresser, and repeatedly checked on.
For her this was an exciting, magical day.
For me, it was a precious memory watching my little girl submerge in childhood magic and wonder.

Finally, bedtime came and she was eagerly awaiting the tooth fairy, with the tooth fairy door set on her nightstand.

We read Silverlicious.
Which is the most adorable tooth fairy book I have ever read.

When morning came we discovered a trail of tooth fairy dust coming from the tooth fairy door. It was a path of tiny, shiny silver stars. The little lady said, "She must be so beautiful."

In place of her tooth she found a gold dollar coin and an official tooth fairy coin.

The tooth fairy also leaves one beautiful bead in exchange for the tooth. After loosing enough teeth, we'll have enough beads to make a pretty bracelet.

Tomorrow I'll share our tooth fairy passport.
See you then!
todayscreativeblog.net/handmade-crafts/
adiamondinthestuff.blogspot.com/
www.sugarbeecrafts.com/
carolynshomework.blogspot.com/
funkypolkadotgiraffe
homestoriesatoz.com
.notjustahousewife
the trendy treehouse create-and-share
ginger snap crafts wow-me-wednesday


Friday, August 17, 2012
Back to School Ideas
We tried taking a picture on the patio with "1st grade" written in chalk next to her. The light was just not cooperating with us. Well, you can kind of read it :)

This week I shared some back to school ideas.
Whether you've already started school or will be soon, I hope it's a smooth and successful transition!
These are some previous posts with a school theme.
 |
| apple cupcakes |
 |
| Sweet teacher treat |
 |
| teacher gift |
 |
| Sight word game |
 |
| alphabet books |
Have a fabulous weekend!
Thursday, August 16, 2012
Homework Station - in progress {Back to School}
With school starting, I wanted to have a space set aside for homework (and crafting). A place where any supply can be found. Including a pretty painted cork board for holding tools or papers.

After seeing this lovely painted cork board at the happy home blog, I remembered that I had an unused bulletin board in the basement. Last summer I used it for our summer bucket list, but now it was just sitting empty waiting for an inspired project.

I didn't have any painters tape on hand, so I used some washi tape I had. Which worked well anyway! I started off measuring where to place the tape...got impatient...and started estimating distances.
I think the white paint on the cork looks great. Eventually I'd like to add a couple more boards around it in varying color shades.

Once the whole craft "room" is complete I'll share pictures of the whole space. For now, this is just our homework station. Set up with pencils, erasers, scissors, crayons, and this handy reference...

This first grade helper is from Fabulous in First.

I love that framed printable on the far right. It was a freebie from Blue Cricket Design. It's a great reminder :)

Those papers that look like they're just hanging in the air are actually clipped up on this burlap covered board we made to display the kids art.

All these little elements are starting to make our space more functional.
More to come :)
Linking with:
.fingerprints on the fridge
at the picket fence
504 main tickled-pink
shabby nest
simply designing
naptime crafters
debbie does creations
man up link up

Linking with:
.fingerprints on the fridge
at the picket fence
504 main tickled-pink
shabby nest
simply designing
naptime crafters
debbie does creations
man up link up
Subscribe to:
Posts (Atom)