facebooktwitterpinterestrss feedemail

Sunday, April 13, 2014

Easter Egg Crafts {past projects}

Whoa, Easter is one week away.
It was just yesterday we were setting our leprechaun traps.  

Time is moving fast for us these days. As the kids get older our schedules get crazier...it seems like that should go the other way around...oh well, we love all the memories we are making.

We are trying to squeeze in some fun Easter craftiness here, but until then here are some of our past projects...


Bless our Nest Wreath


Easter Tea Cups


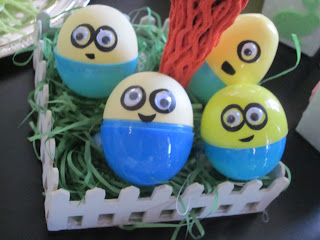
Minion Eggs


Happy Crafting!

Sunday, March 16, 2014

Setting a Leprechaun Trap

Every year we have grand plans for catching a little Leprechaun. This year is no different.

Here's how we made our trap this year :)

We used an empty large yogurt container and cut a hole in the lid.


We covered the hole with green tissue paper so the Leprechaun falls through when he stands on it.


We decorated the container to make it look less suspicious ;) 


We know Leprechauns can not resist gold, so that's what we are using to lure him into our trap...of course.


He needs a ladder to get up there. 
They are tiny, after all.


In the morning we will hopefully have caught one.

Starting St. Patrick's Day off with a bowl of Lucky Charms is kind of a tradition.


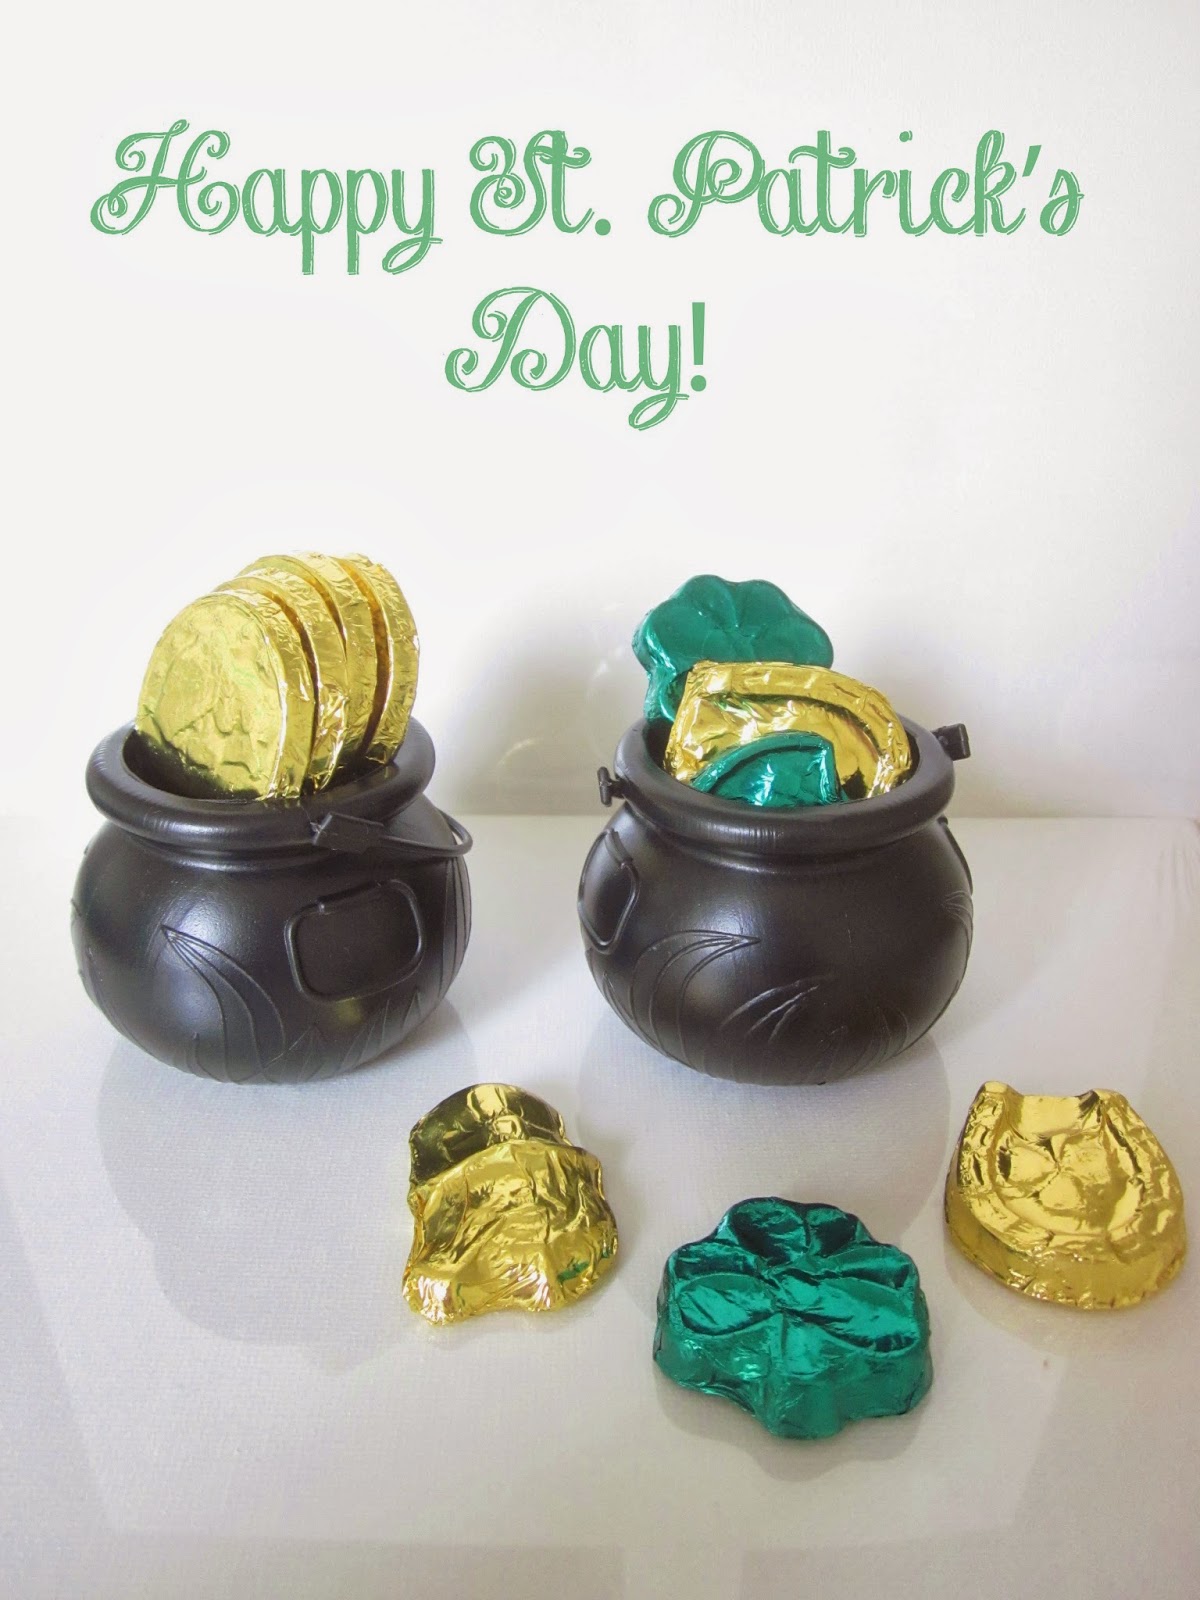
Maybe if we aren't lucky enough to find a leprechaun in our trap, we will at least find a couple little pots of chocolate gold.


We wish you a day filled with good luck, too.


sharing here:
Mop It Up Mondays (Kristi@I Should Be Mopping the Floor)

Monday, March 10, 2014

A Bird Feeder for Spring {& Kids Craft}


Wow! Snow might be in the forecast tomorrow, but it's nice out there today! 
Breezy Spring days cannot come soon enough for me. 
Although here in the midwest we never know what we're gonna get next.  Sometimes we skip right over Spring and straight into sticky humidity.

On the brighter side... 

...A very nice lady over at RedEnvelope kindly sent over a pretty 
little package my way.

Seriously pretty.

I love little details and pretty packaging.


 LOVE it  ♥  ♥  


Of course we had to hang it in a tree in the front yard right away.   
Yep, that's the little guy and his dog anxiously waiting for a feathered visitor :)


After picking the spot for our bird feeder, we had a little fun whipping up a quick bird craft.  
I came across this pin on pinterest...


 Pretty, right?! 
So we thought we'd make our own version.
 Here's what we did:


♥ Here's hoping Spring days come quickly  


A Disclaimer :)  I was given my hanging glass bird feeder free of charge.  All opinions are mine and mine alone

sharing here:
Made By You Monday (Cindy@Skip to my Lou)
Tip Me Tuesday (Laurie@Tip Junkie)
Take-A-Look Tuesday (Sugar Bee Crafts)
Inspiration Board (Carolyn@Homework)

Monday, March 3, 2014

Remaking a Hutch for a Craft Room

We had this old hutch sitting in our basement.  Once upon a time it belonged to my grandparents and then my parents.  It sat in our basement being used as storage.  It looked dated and didn't suit our taste, but I felt guilt at even the thought of painting it.  That changed after I came across a beautiful post at House of Joyful Noise. Read it...but get tissues first.  Trust me. 


We were moving into a larger home where I would have my own craft room.  With a little paint, I knew this hutch would look so pretty in there.


I used Annie Sloan chalk paint in Old White.  I LOVE this chalk paint because you don't need to sand or prime the surface first. I finished it off with a coat of Annie Sloan soft wax.  This step makes a huge difference in the feel of the piece when your done. 


I replaced the handles on the top drawers with ones I had on hand.  The three down the middle are the originals painted in metallic silver.


I adore the way it turned out!  I'm so glad I let the fear go and painted it :) It now sits in my craft room.  


The drawers and bottom cabinet are filled with supplies.


On the shelves sit some of my favorite pictures and some pretty crafting inspiration.


The "sweet" banner below is from one of my favorite Etsy shops Raising Up Rubies


The top shelf is home to our tooth fairy :)  The box she is guarding is where I keep the treasures the tooth fairy delivers. You can check out this post to see what we do for the tooth fairy.


Thanks for visiting
♥ Happy creating  


Sharing here:
Mop It Up Mondays (Kristi@I Should Be Mopping the Floor)
Made By You Monday (Cindy@Skip to my Lou)
Inspire Me Wednesday {Seven Thirty Three}
Wow Me Wednesday (Ginger@Ginger Snap Crafts)
Whatever Goes Wednesday (Someday Crafts)
Tip Me Tuesday (Laurie@Tip Junkie)
Take-A-Look Tuesday (Sugar Bee Crafts)
Inspiration Board (Carolyn@Homework)

Thursday, February 20, 2014

A Boy's Room {and a Free Printable}

Just a few months ago we moved into our new home.  It's been fun putting each room together.  It's slowly getting there.  Slowly, but that's okay.  Today I'm sharing some of my favorite parts of the little guy's room.

 This airplane canvas idea came from this pin I found. The best part was that we all contributed in making it.  The kids painted the 3 canvases with sponge brushes and a tube of blue paint, the hubs made the paper airplane, and I put it all together.


In the picture below you can see how I hot glued the bottom of the airplane to the canvas.  I used skinny white masking tape for the trail.  Fun!


In one corner of his room sits a solid wood desk we got off craig's list for $20.  It was banged up and in need of some serious love.  I painted it with Annie Sloan chalk paint and added some spigots I found on Etsy. 


On top of his desk sits this curio box for his special treasures.  Right now it holds a M&M car, a minion, a hot wheels car, a couple rocks, a shell, and a souvenir Lego brick.  This are precious things people ;)


Above his desk hangs this gem I found on Etsy.   ♥ this.


In the corner of his room hangs this felt garland I strung together.  I cut circles from felt and strung them together with a needle and thread.  It hangs from the ceiling to the top of his desk.  When air flows through it twirls a little.  Adds a little bit of whimsy 


Every little boy needs a place to hang his cape when he's finished crime fighting for the day.


I've seen this kind of print floating around pinterest and loved it. I made my own printable version and will share it with you today.


I used a clear 3M hook to hang the cape below the picture frame.  I think it's my favorite part of his room 

  
If you would like a free copy of this printable you can get it HERE or click on the picture above:)

 Happy creating  


Sharing here:

The Party Bunch Link Party (WhipperBerry, 36th Avenue, 30 Handmade Days, The idea Room)
Frugal Friday (Wendy@The Shabby Nest)
Creativity Unleashed' {Shaken Together, Practically Functional}
Tickled Pink {504 Main, What Meegan Makes}
Strut Your Stuff Saturday (Six Sisters Stuff)
Link Party Palooza {I Heart Nap TimeLil' LunaSomewhat SimpleTatertots & Jello & Today's Creative Blog}
That DIY Party (Roeshel@The DIY Show Off)
Overflowing with Creativity (Aimee@It's Overflowing)
Mop It Up Mondays (Kristi@I Should Be Mopping the Floor)

Wednesday, February 12, 2014

A Valentine Card Box

Remember when you were a kid and made a "mailbox" that sat on your desk to collect Valentines?  Those were so much fun to make!  Well, this is the first year my little girl got to make one...yay!  At her last school they just put the Valentines in a plain white bag.  So this year we were excited to finally get to be a little creative.


We used a cardboard gift box for the bottom, and I cut up a thick cardboard box to make the roof.  She did the decorating and I did the hot gluing for her.


have a happy Valentines day :)


LinkWithin

Related Posts with Thumbnails