facebooktwitterpinterestrss feedemail
Showing posts with label Kids Crafts. Show all posts

Sunday, March 16, 2014

Setting a Leprechaun Trap

Every year we have grand plans for catching a little Leprechaun. This year is no different.

Here's how we made our trap this year :)

We used an empty large yogurt container and cut a hole in the lid.


We covered the hole with green tissue paper so the Leprechaun falls through when he stands on it.


We decorated the container to make it look less suspicious ;) 


We know Leprechauns can not resist gold, so that's what we are using to lure him into our trap...of course.


He needs a ladder to get up there. 
They are tiny, after all.


In the morning we will hopefully have caught one.

Starting St. Patrick's Day off with a bowl of Lucky Charms is kind of a tradition.


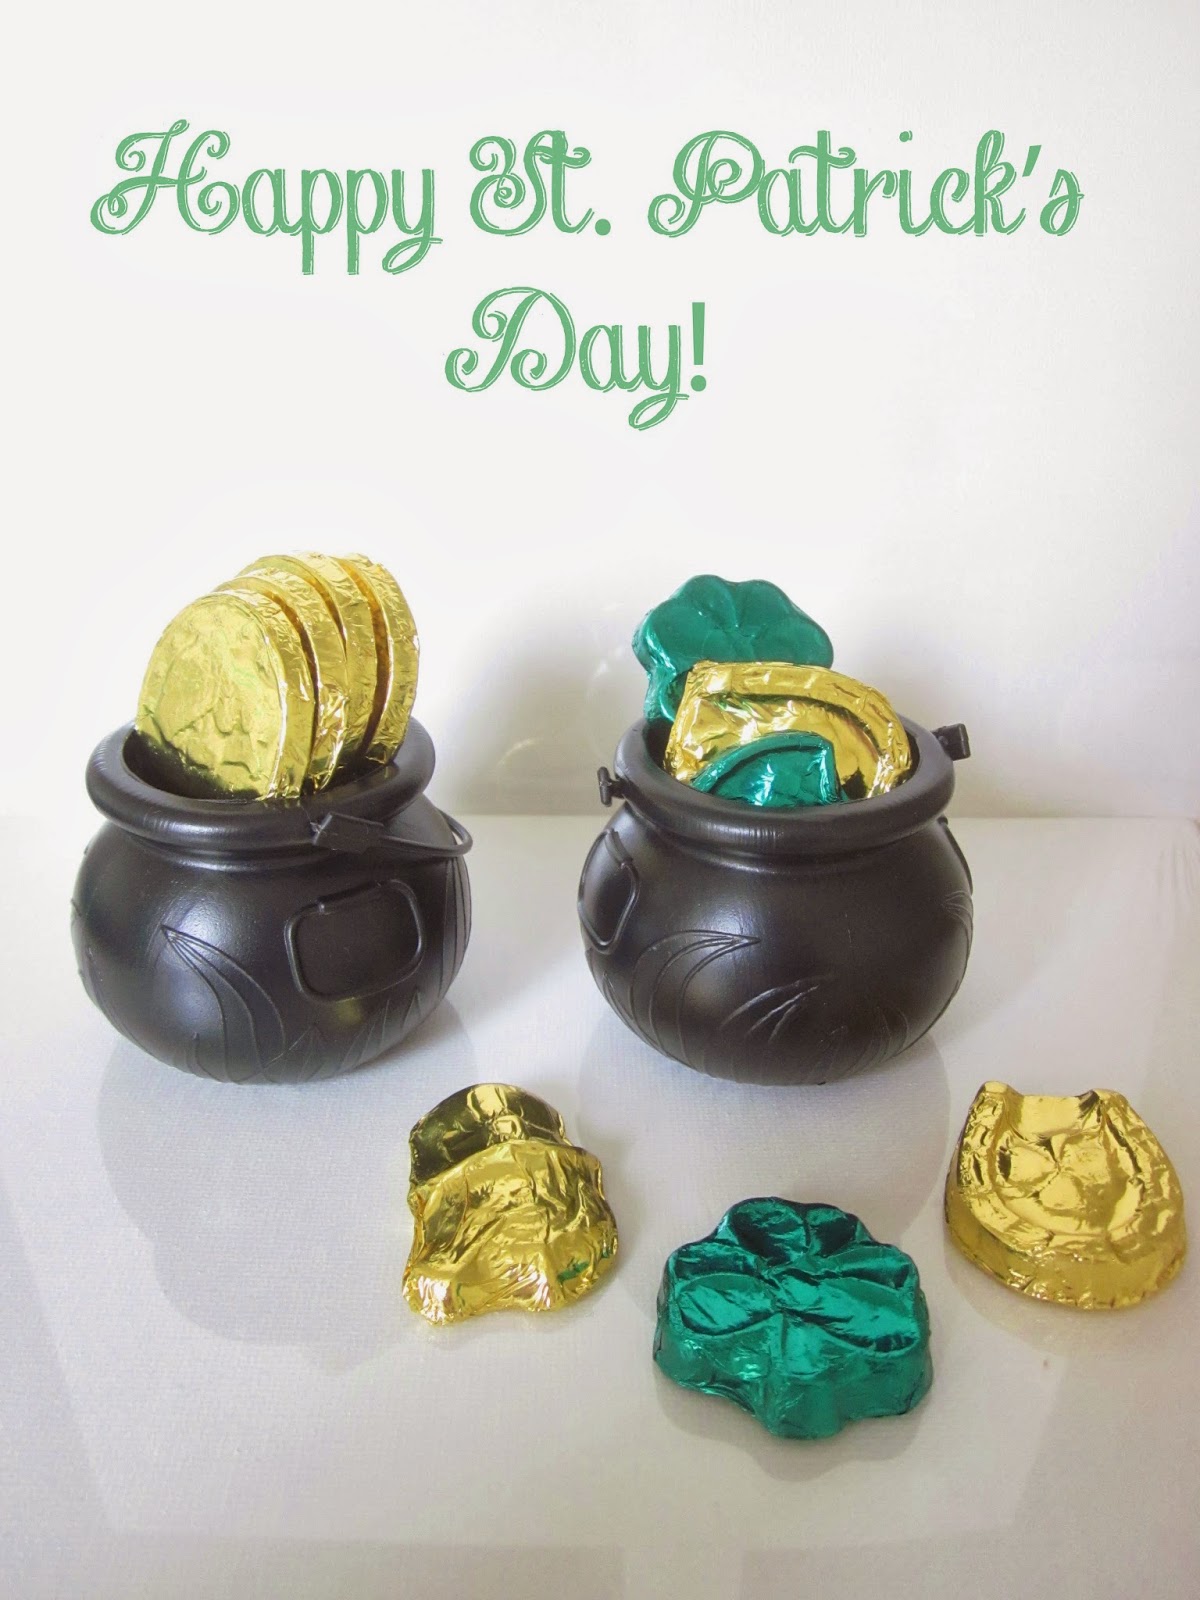
Maybe if we aren't lucky enough to find a leprechaun in our trap, we will at least find a couple little pots of chocolate gold.


We wish you a day filled with good luck, too.


sharing here:
Mop It Up Mondays (Kristi@I Should Be Mopping the Floor)

Monday, March 10, 2014

A Bird Feeder for Spring {& Kids Craft}


Wow! Snow might be in the forecast tomorrow, but it's nice out there today! 
Breezy Spring days cannot come soon enough for me. 
Although here in the midwest we never know what we're gonna get next.  Sometimes we skip right over Spring and straight into sticky humidity.

On the brighter side... 

...A very nice lady over at RedEnvelope kindly sent over a pretty 
little package my way.

Seriously pretty.

I love little details and pretty packaging.


 LOVE it  ♥  ♥  


Of course we had to hang it in a tree in the front yard right away.   
Yep, that's the little guy and his dog anxiously waiting for a feathered visitor :)


After picking the spot for our bird feeder, we had a little fun whipping up a quick bird craft.  
I came across this pin on pinterest...


 Pretty, right?! 
So we thought we'd make our own version.
 Here's what we did:


♥ Here's hoping Spring days come quickly  


A Disclaimer :)  I was given my hanging glass bird feeder free of charge.  All opinions are mine and mine alone

sharing here:
Made By You Monday (Cindy@Skip to my Lou)
Tip Me Tuesday (Laurie@Tip Junkie)
Take-A-Look Tuesday (Sugar Bee Crafts)
Inspiration Board (Carolyn@Homework)

Saturday, February 8, 2014

How to Make Window Hearts {Kids Craft}

We had four "polar vortex" days off school in January.  
We used that time to hide inside and create pretty things.
These hanging hearts look so pretty hanging in the sunlit window.
They make great Valentine gifts, too.
 
Here's what we used:

~clear contact paper
~glitter
~little hearts (punched from paper, confetti, whatever you have on hand)
~fishing line, yarn, or ribbon for hanging

I tried using a heart shaped paper punch (Martha Stewart punch) on tissue paper.  So did not work, and the tissue paper just ripped.  Instead, I hand cut a few tissue paper hearts to add to the mix.  We mostly used ones punched from cardstock.  

We started by taping the contact paper to the table with the sticky side up.


They dropped the hearts and glitter on the contact paper.  This is the fun part :)  


When they were done, I put another sheet of contact paper on top to "seal" their arrangement.  Then I cut hearts from it, punched a hole in the top of each heart, and added something to hang it with.


If you are going to hang them in a window it looks best with fishing line.  
I think we've made about 10 of these.  They are so easy and pretty :)


Happy creating :)

Sharing here:
Strut Your Stuff Saturday (Six Sisters Stuff)


Sunday, February 2, 2014

Heart Canvas {Kids Craft}


The kids had so much fun making this, and I almost want to make one by myself.
The finished product reminds me of a bowl of conversation hearts.


We made this festive piece on one of our polar vortex days.
We gathered up our supplies 
~ a canvas
~ contact paper cut in the shape of a heart
~ dot art markers


If you don't have dot markers, you can use a sponge cut to a circle and regular paint.


When they are done painting just peel off the contact paper (or tape) and let dry.


I love it, and they loving seeing  their work hanging on the wall.


Happy Creating :)

sharing here:
That DIY Party (Roeshel@The DIY Show Off)
Mop It Up Mondays (Kristi@I Should Be Mopping the Floor)
Made By You Monday (Cindy@Skip to my Lou)

Thursday, August 30, 2012

Children's Initial Art

Pinterest was overflowing with ideas for initial art like this, and it had been far too long since we finger painted.  So we did.


Step 1.)  I cut their initials in vinyl and stuck it on the thick cardstock.  


 Step #2  They painted.  
He took the whole hand approach...


 ...while she took the finger tip approach. Each artist has their own technique :)


 Step No.3)  After they dried I removed the vinyl and framed.

  I bought cheap dollar store frames and hung them on their bedroom doors.  You could paint the frames if you wanted, but I preferred the raw wood look.


have a happy, messy, crafty kind of day :)

Tuesday, August 21, 2012

Tooth Fairy Passport


Yesterday I wrote about a visit from the tooth fairy and what a big deal she is around here.  For that reason, we needed a fun way to document this exciting time.  Why not a tooth fairy passport? :)


Using card stock, washi tape, baker's twine, and a tooth fairy stamp set, we put together this passport holder.


Now we needed to complete the inside.
Shaped by Grace via Homemaker in Heels kindly offers some free printables for just such a thing. 


 Tucked in one side pocket is the Tooth Travels punch card.


In the other pocket is Tooth Journal cards for documenting how each tooth was lost.  It will be nice to look back at their handwriting, too.  On the back side the tooth fairy can even leave a little note.  


This passport will become a perfect keepsake!

Do you have any tooth fairy traditions?

Monday, August 20, 2012

Tooth Fairy Visit


Last month she finally lost her first tooth!  This was HUGE for her.  She has watched friends and classmates lose teeth over the last year.  This has been a long...long...long wait.  When a tooth finally came out, grandparents were called...of course.  Until bedtime the tooth was safely placed on mama's dresser, and repeatedly checked on.  

For her this was an exciting, magical day.  
For me, it was a precious memory watching my little girl submerge in childhood magic and wonder.  


Finally, bedtime came and she was eagerly awaiting the tooth fairy, with the tooth fairy door set on her nightstand.


We read Silverlicious.  
Which is the most adorable tooth fairy book I have ever read. 


When morning came we discovered a trail of tooth fairy dust coming from the tooth fairy door. It was a path of tiny, shiny silver stars.  The little lady said, "She must be so beautiful."


In place of her tooth she found a gold dollar coin and an official tooth fairy coin.


The tooth fairy also leaves one beautiful bead in exchange for the tooth.  After loosing enough teeth, we'll have enough beads to make a pretty bracelet. 


 Tomorrow I'll share our tooth fairy passport.  
See you then!


Linking up here:
todayscreativeblog.net/handmade-crafts/
adiamondinthestuff.blogspot.com/
www.sugarbeecrafts.com/
carolynshomework.blogspot.com/
funkypolkadotgiraffe
homestoriesatoz.com
.notjustahousewife
the trendy treehouse create-and-share
ginger snap crafts wow-me-wednesday


LinkWithin

Related Posts with Thumbnails